projectForge
I have always been a fan of Medieval/Fantasy genre works; whether that be books, tv series and movies, or my choice of video games. So I have always had a lingering interest in blacksmithing and ironwork. Unfortunately, I have moved often and lived in apartments for most of my adult life, so I had never had the chance to give it a shot.
That is, until we moved out into the mountains. To my surprise, there are atleast 6-12 blacksmiths in my little town alone that I've heard of. I quickly made some aquantainces who let me try out their forge to try my hand at making a knife. (Why is it that most modern blacksmiths focus solely on knives?) I had watched a lot of videos on youtube so I had some sort of idea what to do, although I don't really have much interest in knives myself. I managed to struggle my way thru forging a barely-hot-enough high carbon knife and quickly realized I needed to get my own forge setup where I could practice the fundamentals at my own pace on mild steel, where I can see the results of my hammer blows more readily and adjust in real time.
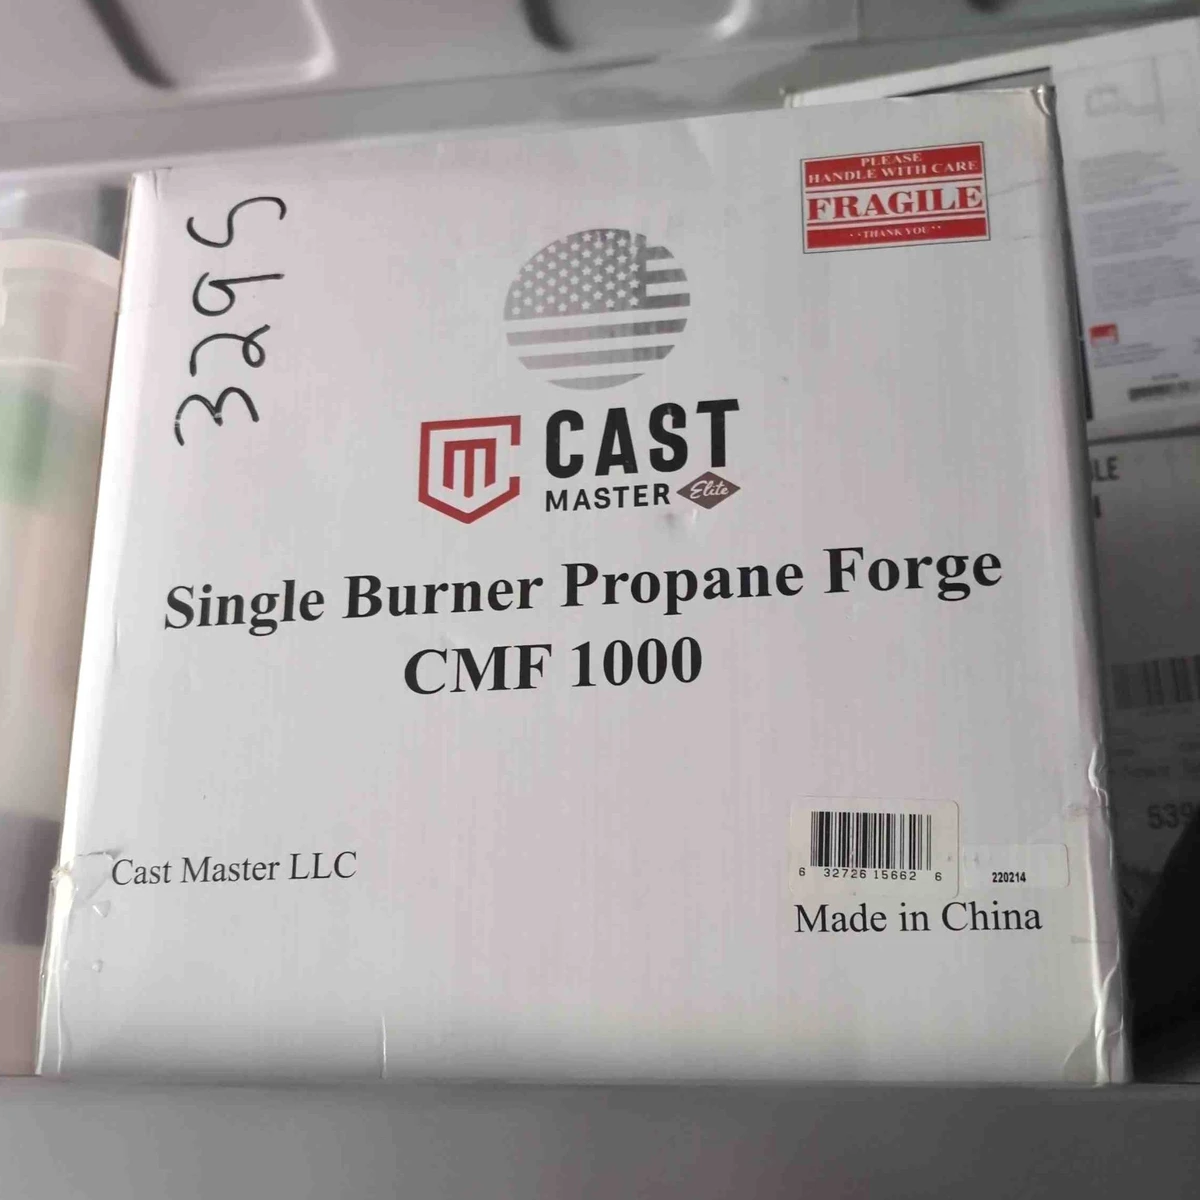
Queue a quick shopping comparison online, after which I settled on the Cast Master CMF1000 single burner propane forge.
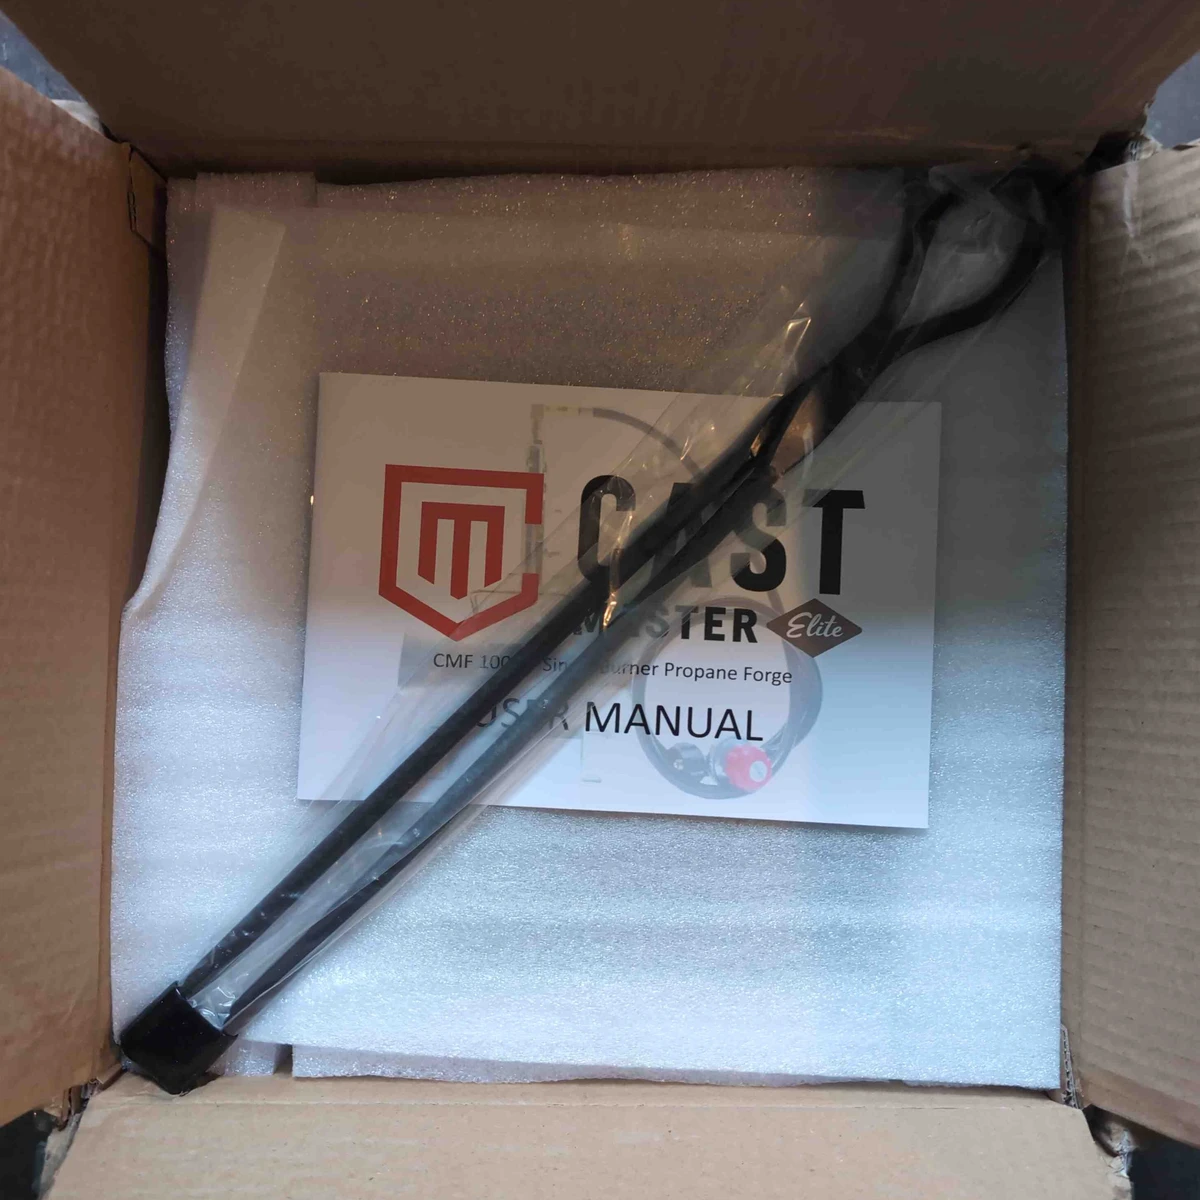
Mostly because it only cost $49 CAD at the time. I was pleasantly surprised to see they include a pair of "tongs" that I don't thinkw as mentioned; although, they are barely substantial enough to call tongs.
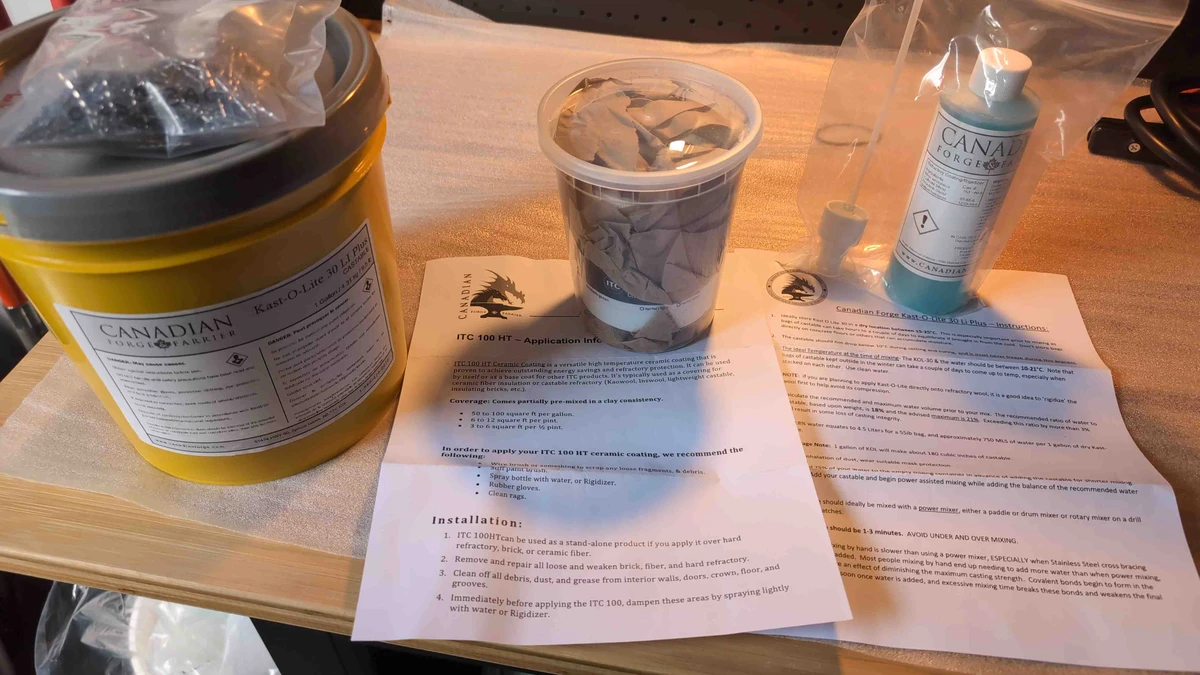
In my research I knew I would also need to coat the Kaowool ceramic liner in refractory cement as it is liable to cause lung cancer if ceramic fibers are exposed to the flame directly. I was quite disappointed to see no mention of this hazard in the instruction booklet from Cast Master. Shame on them! I sourced my refractory supplies from Canadian Forge & Farrier. After reading up on the benefits and drawbacks of different options on their site, I ended up going with Kaowool ridgizer spray, Kast-O-Lite 30 refractory cement, and ITC100HT high-reflectivity ceramic topcoat to improve my forge's efficiency. I also got some small stainless needles to mix into the refractory to help prevent cracking; although I don't think I would use these next time. It seems they may be more useful if pouring the refractory into a mould in my opinion. CF&F provided excellent instructions with each product that helped me out given this is my first time working with refractory.
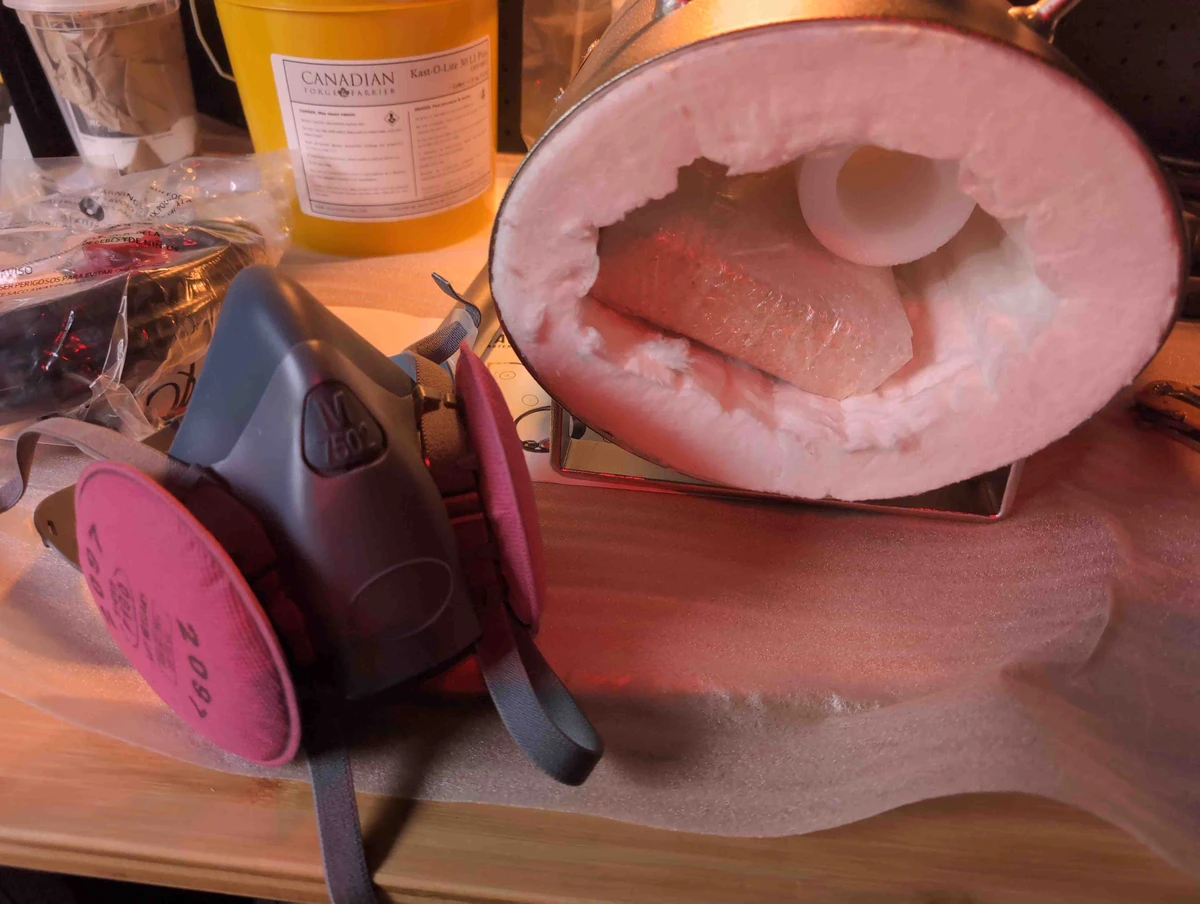
Essential supplies include a P100 respirator as ceramic refractory can harden in the lungs if inhaled. As well as sturdy nitrile gloves and safety goggles that seal around the face.
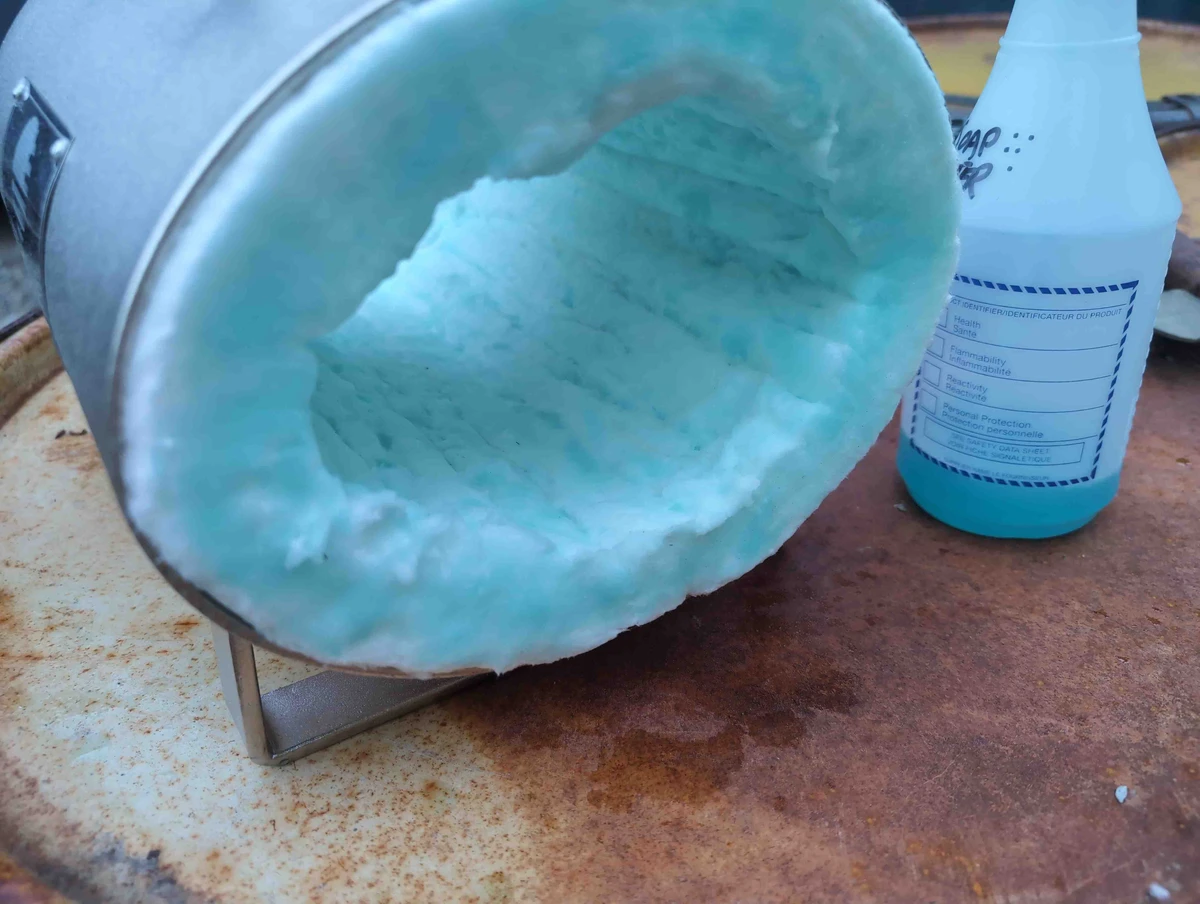
The first step is to spray down the Kaowool liner with ridgizer spray. The stuff I got is blue so it makes it easy to see if you have even coverage. This stiffens the liner so that you can more easily spread refractory over it without it collapsing.
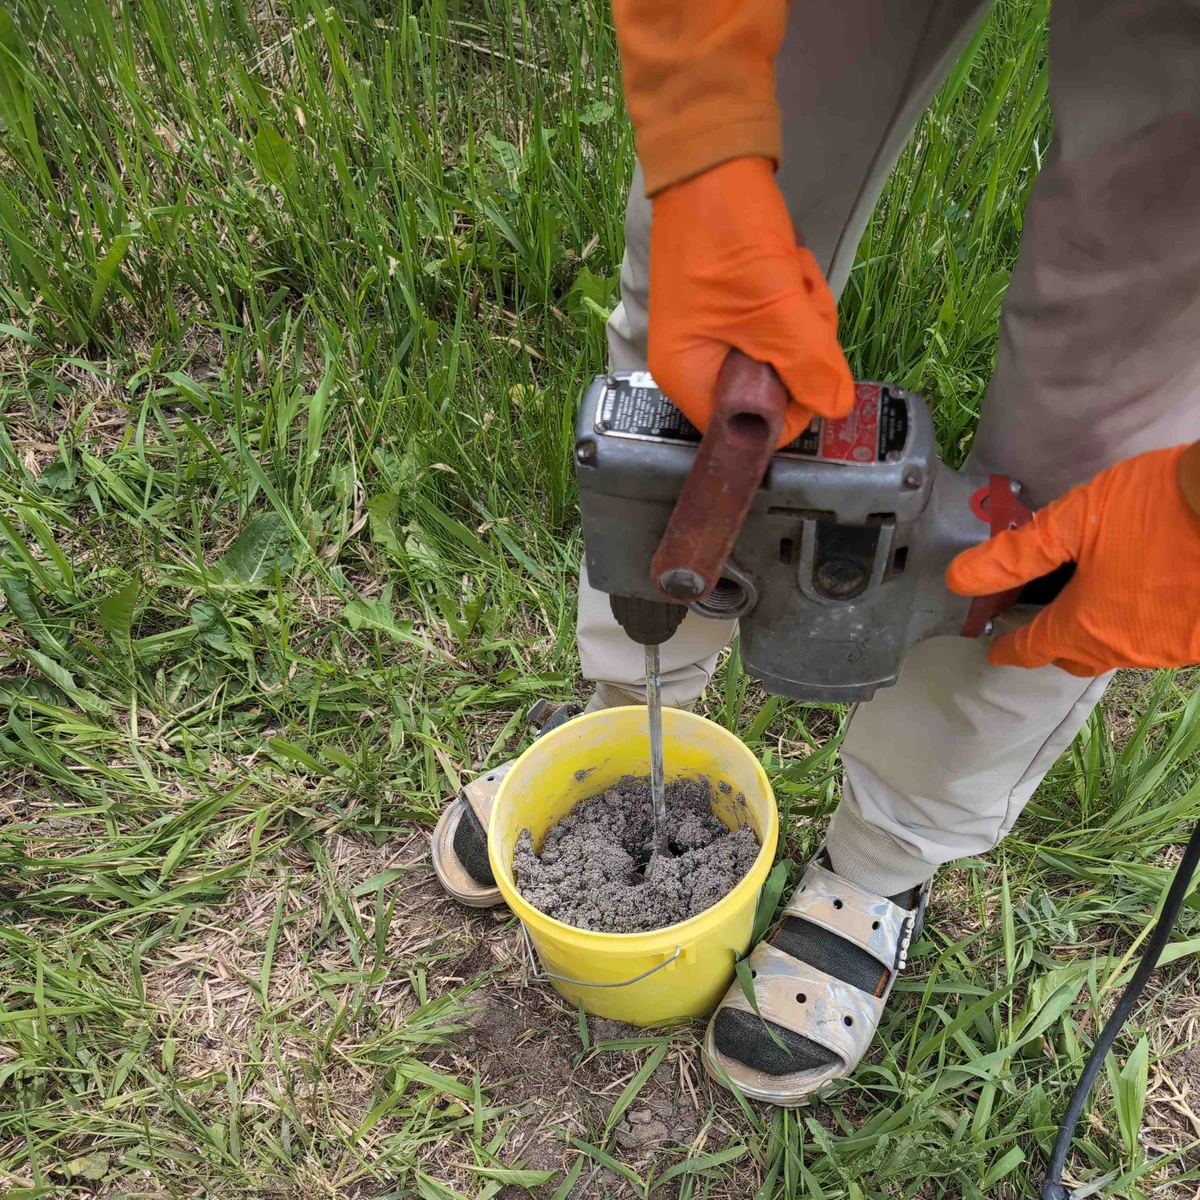
Next, I mixed up the KOL30 refractory using a heavy duty drill and paddle mixer. Make sure to wear your respirator!!
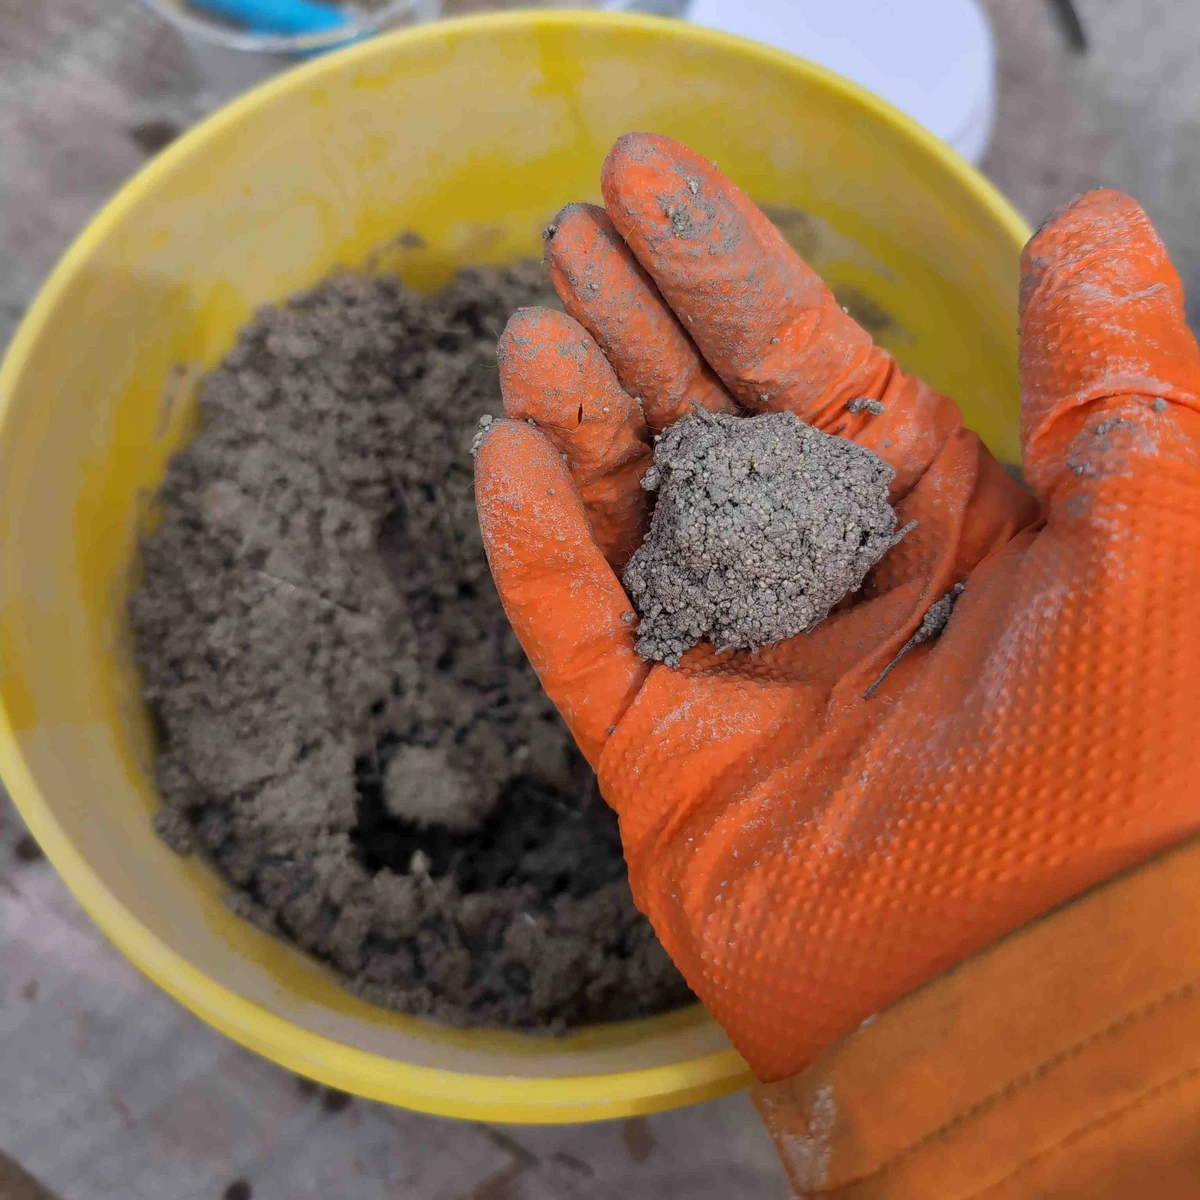
You need very little water, although I had a hell of a time getting mine to stick to the Kaowool until I thinned it a bit (against the express instructions, I know, I know.) The goal is to get it to form a cohesive ball in your hand and not fall apart, but no more water than necessary.
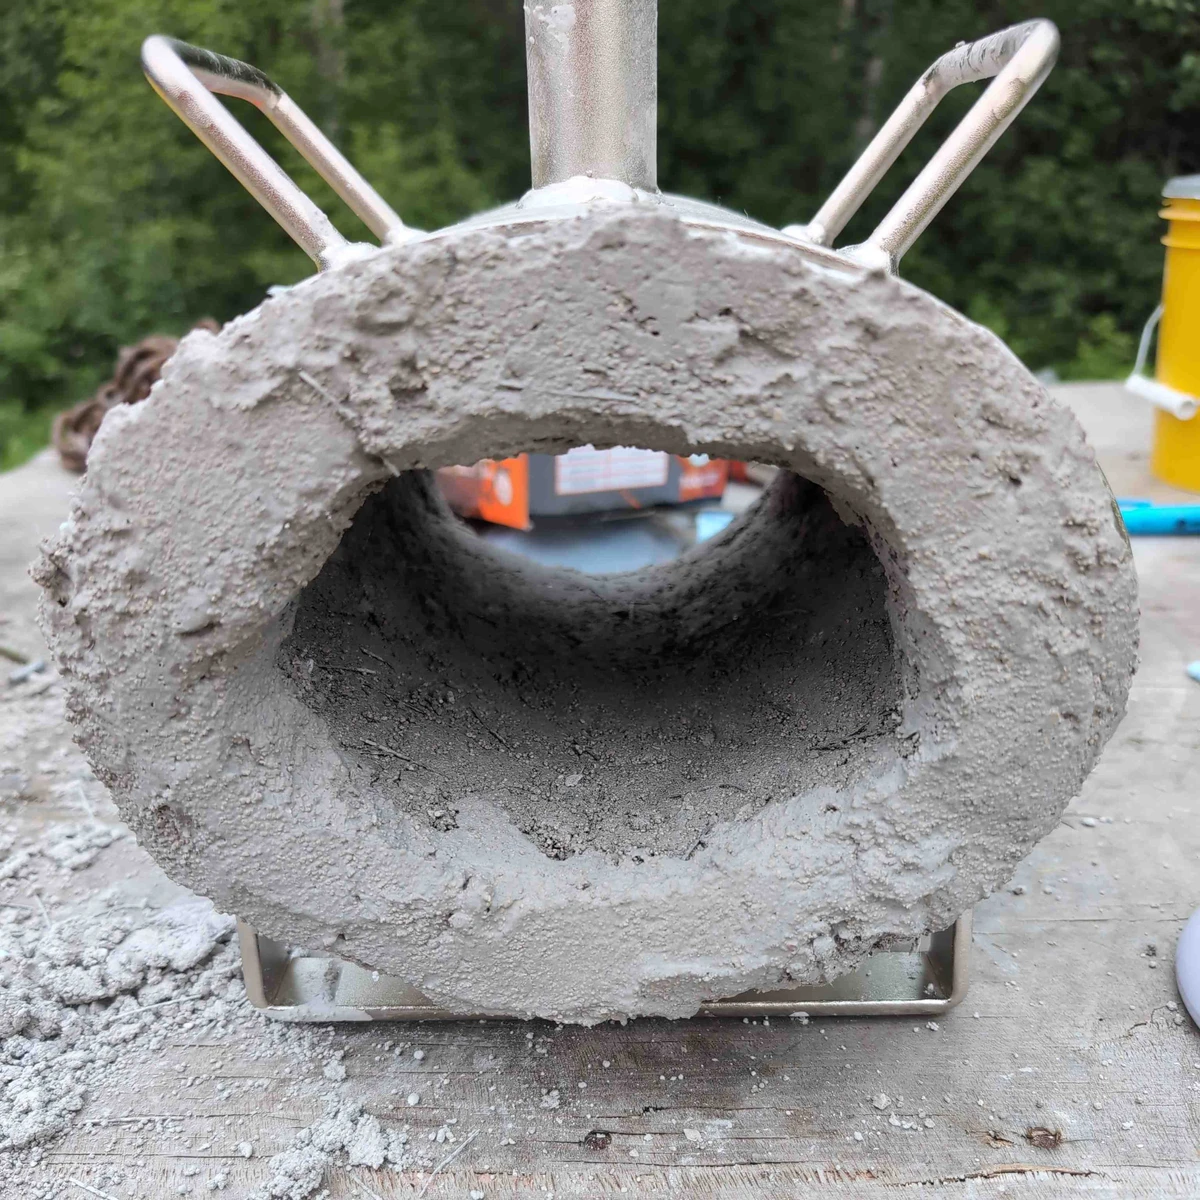
Once you've achieved the proper consistency you need to work quickly to spread the refractory in an even thin coat over the forge. I struggled to get it to stick unless I let it partially dry on one section before inverting it for the next section. The trouble with this approach was that my already mixed refractory was drying out at the same time! If I did it again, maybe I would mix smaller amounts of refractory so I could cover one surface, let it dry a bit while I mix more, then turn it over and do the other side. I ended up just adding a bit more water part way thru the first coat, and you can really see the change in texture of the refractory after I added (a bit too much) water for the end surface.

You can also see the stainless needles poking out in some spots after the first coat of refractory.
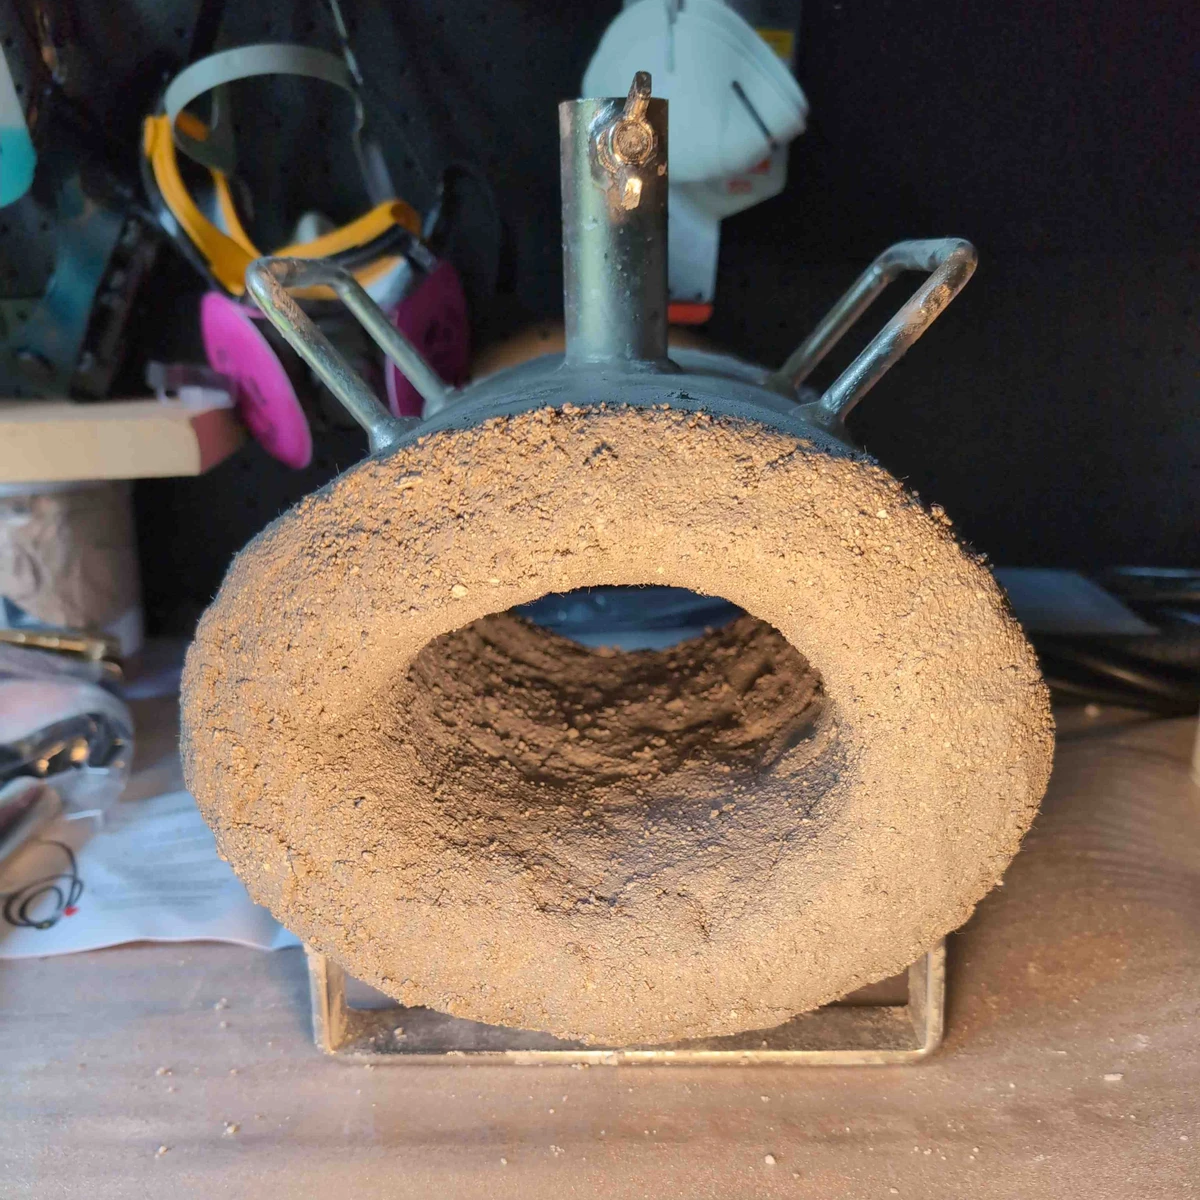
I opted to omit the needles in the second coat to achieve a slightly smoother surface. Along with mixing the refractory slightly wetter from the get go. Here is the forge following the second coat of KOL30.
I'm starting to wish I had impressed the bottom fire brick into the kaowool a bit before applying the refractory. I am left with a very small fire chamber as is, but hopefully that is okay for the small stock I'm starting with anyways.
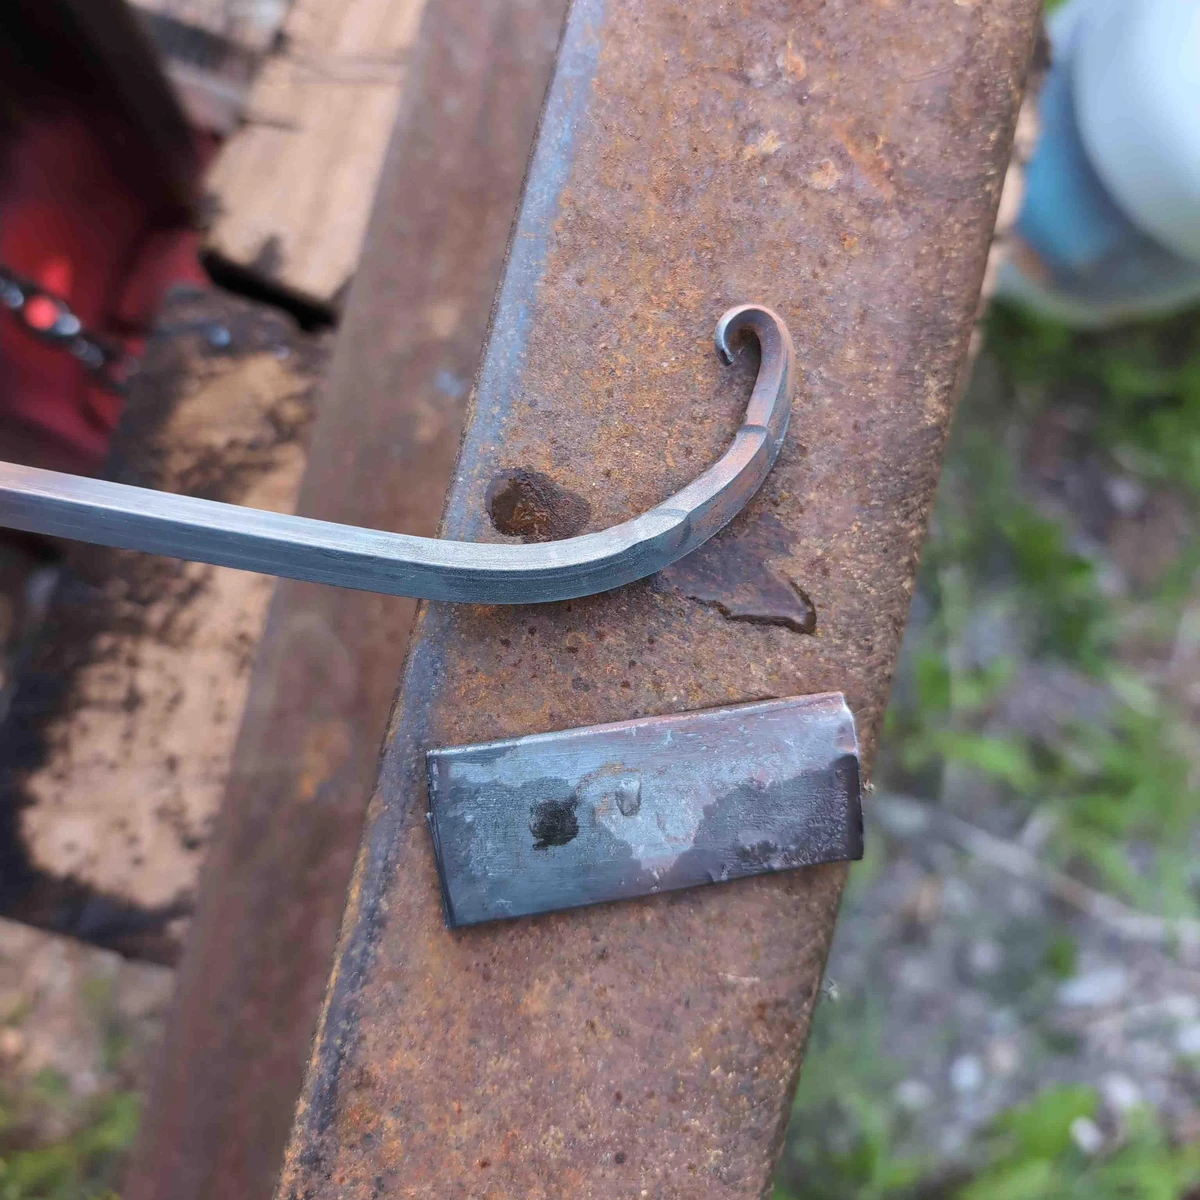
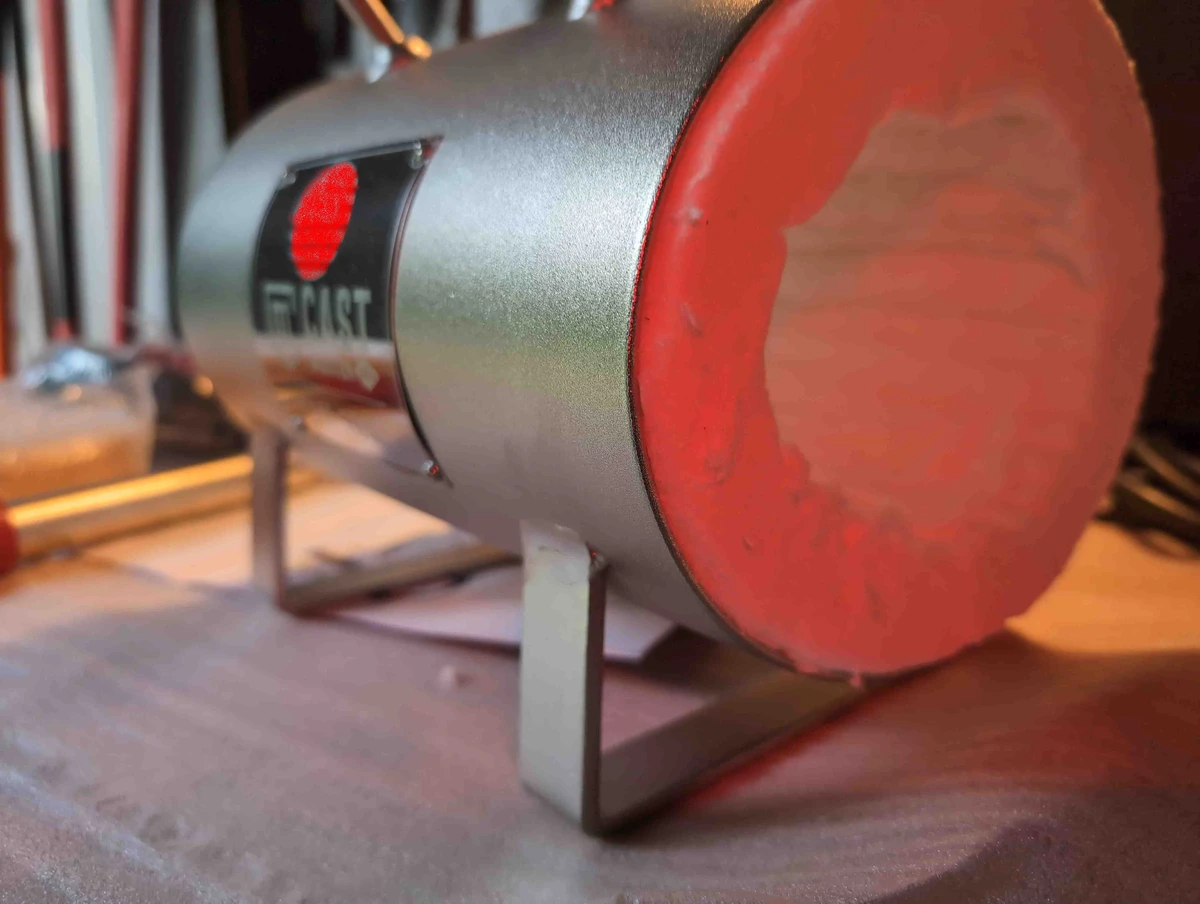
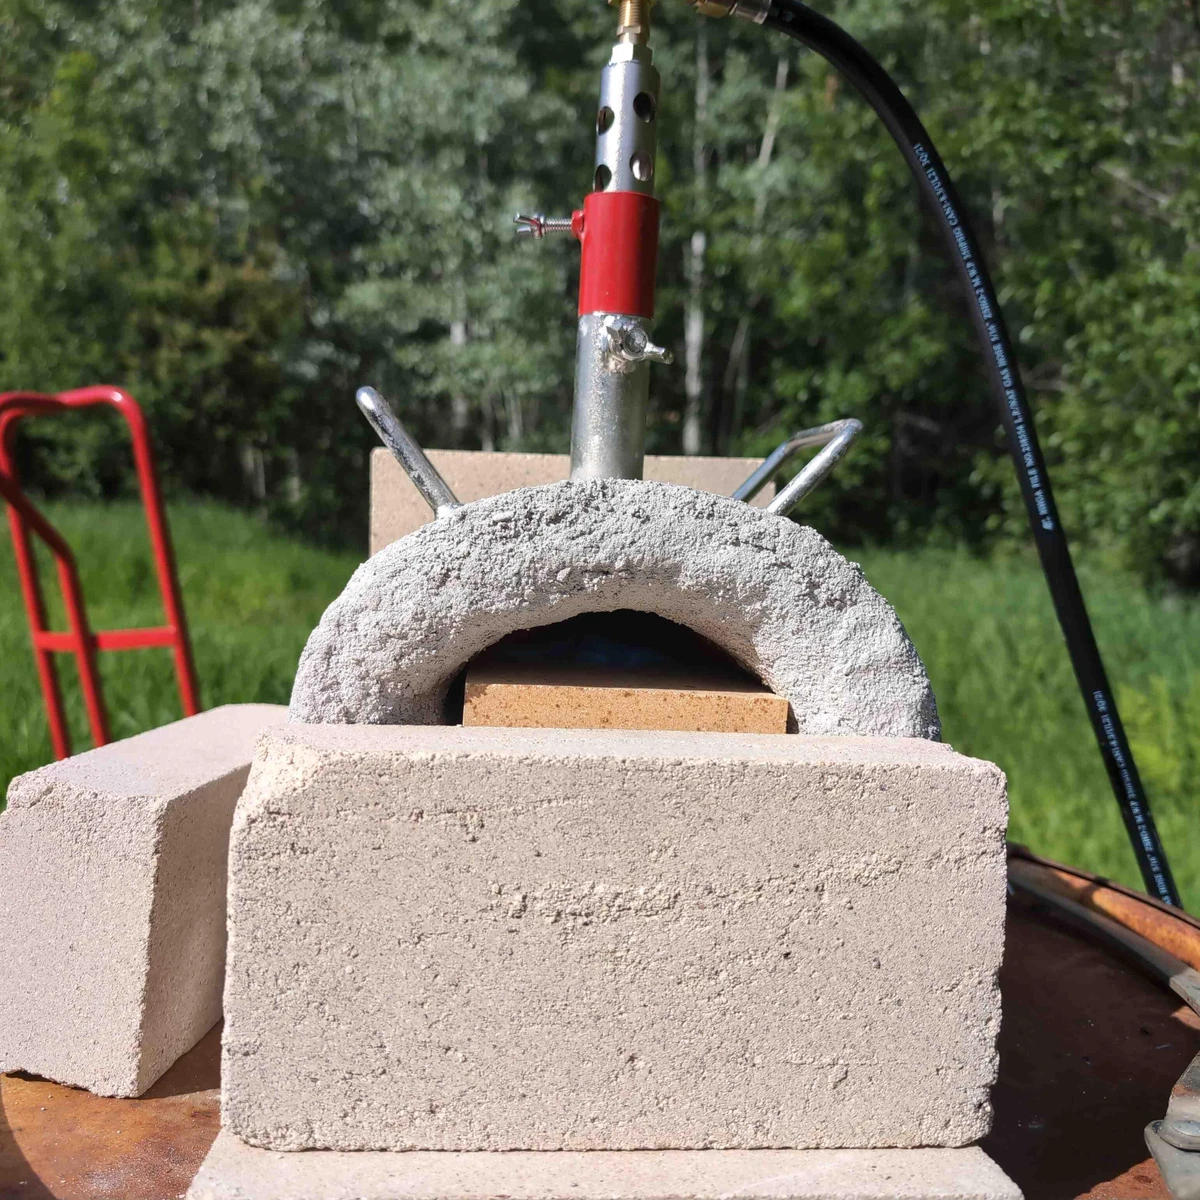
After application, I let the KOL30 air dry for about 2 weeks to ensure most of the moisture from my wet application had evaporated. Then I fired up the forge intermittently to slowly bring up the temperature. Once I was up at forging temp I tried out a small taper and curly bit, as well as testing out the hot cut built into my anvil (build post to come) to cut a piece of flat bar. Very cool!
Now that the refractory cement is cured, I was able to paint on a couple of thin coats of ITC100HT. This is a high-reflectivity ceramic top coating that improves the efficiency of a propane forge a good deal according to their claims. We'll see how it works out as I haven't had the forge out again to fire the ITC100 yet, but soon enough!